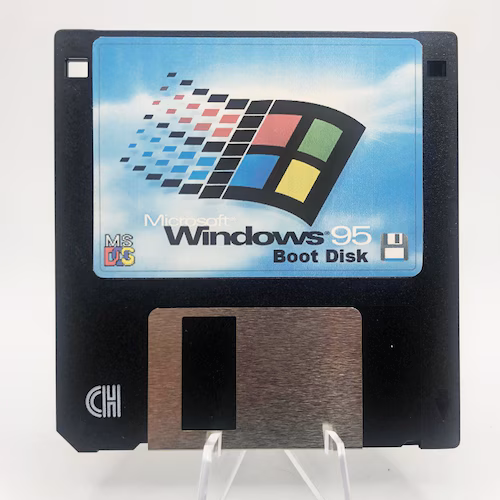
Alright, fellow computer geeks! Ever been stuck staring at a blinking cursor after your computer crashes? Don't sweat it! A boot disk can save your bacon when your system refuses to cooperate. Here's how to make one, step-by-step, so you can get back to fragging in Doom in no time! First, you'll need a blank floppy disk. Remember those? Make sure it's formatted and ready to go. Now, for Windows 95, stick your Windows 95 CD-ROM into your CD-ROM drive. Open the Control Panel, double-click on "Add/Remove Programs," and click on the "Startup Disk" tab. Click the "Create Disk" button, and follow the on-screen instructions. Windows will copy the necessary files to the floppy, making it bootable. For Windows 98, the process is pretty much the same. Insert your Windows 98 CD-ROM, go to the Control Panel, click "Add/Remove Programs," and then the "Startup Disk" tab. Click "Create Disk," and let Windows do its thing. This will create a bootable floppy with some essential utilities, like FDISK and FORMAT, which can be lifesavers in a pinch. Once the boot disk is created, label it clearly with a marker. Write "Windows 95 Boot Disk" or "Windows 98 Boot Disk" on the label, so you don't mix it up with your other floppies (like that killer mix you made for your crush). Store it in a safe place, like in your desk drawer or next to your stack of AOL CDs. Now, when your computer refuses to boot, simply insert the boot disk into your floppy drive, restart your computer, and cross your fingers. Your computer should boot from the floppy, giving you access to a command prompt. From there, you can run diagnostics, repair your hard drive, or reinstall Windows if necessary. So, there you have it! Making a boot disk is a simple but essential task for any Windows user. It's like having a spare key to your car – you hope you never need it, but you'll be glad you have it when you do. Now go forth and create your boot disk, and may your computer always boot smoothly!
© 1995 NetRider95. Best viewed in Netscape Navigator at 800x600. ![]()